High Impact Polystyrene Benefits and Applications
High impact polystyrene is a well-known type of thermoplastic favored in injection molding scenarios across a variety of industries. Its unique blend of durability, texture,


When designing your plastic part, it’s crucial to consider what the part’s fit and function will be.
First and foremost, the function of the product will affect the fit and form of the plastic part in almost every case. So as you draw out your design, make sure you’re cognizant of its fundamental usage.
What special properties need to be included to make your plastic part stand out as more functional than potentially competing products?
These, among many other product-specific questions, should be answered before you worry about the style of your custom plastic product.
Answering these questions provides you with a better understanding of what type of resin should be used to manufacture your part.
Now that you understand exactly what your part needs to do, you’ll need to figure out what it will look like, how it will feel, and how it will interact with other elements within the product’s environment.The goal is to strive for optimal performance.
In this context, “Fit” refers to how a plastic part mates to another part or occupies a specified amount of cubic inches within a box or on a shelf. *
For Example:
The thickness of the part’s walls should stay consistent whenever possible.
Inconsistencies in the wall thickness can cause the plastic to warp. When the plastic cools, it cools from the outside inward which can cause the outside walls to be pulled inward (called sinks), internal stress, or internal voids.
Make sure the walls of the part aren’t exactly perpendicular
This wall feature is called a draft angle. It allows the part to come out of the mold smoothly. We recommend a draft angle of between 2 and 5 degrees.
Consider Rounded corners
Rounded corners allow material to flow through the part more efficiently. This also reduces stress on the material during the cooling process, in turn reducing its tendency to crack, bow, warp, or have fragile corners.
Make note of parting lines
A parting line is a line where the two halves of the mold meet. This can create a thin blemish around the part depending on how it was designed. If you need a sharp edge on your part, you can reduce blemishes incorporating that edge in the parting line.
Consider hole depth to diameter ratio
Most plastics companies recommend the hole depth-to-diameter ratio to stay under two. There are two types of holes:– Through Holes– Blind Holes
Unlike through holes, blind holes don’t protrude through the plastic part. The pins that are used to make these blind holes shouldn’t be too long, because the heat and pressure can potentially warp the insertion area.
Eliminate undercuts if possible
To save money, it would be wise to avoid using undercuts. Undercuts will almost always result in a more expensive part, due to a more complex mold design and typically more process time is needed to create them.
An undercut is any protrusion or indentation that houses any non-standard mating part of the plastic. (For example: A T-shaped connector)
Consider utilizing ribbed features
If you want to strengthen the molded part without adding additional wall thickness, ribbing is a great way to accomplish this. Taller ribs can lead to issues like warping and bending. But if your piece has subtle and simple ribbing, it should serve the function well.
It’s all about the cubic inches.
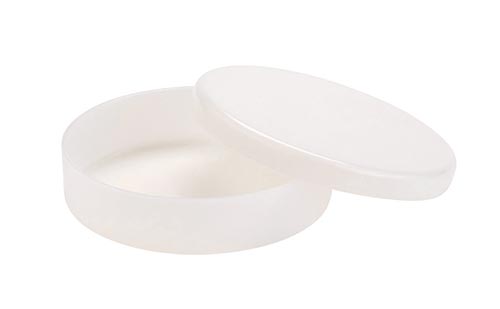
Let’s say you own an ice cream company, and you’re hoping to modernize the ice cream container so that it increases user-friendliness and fits perfectly in the frozen section at Walmart.
You’ll need to design for a specific amount of shelf space.
It’s important to know that this shelf space allotted varies for each product type. For example, Walmart won’t accept a 10-gallon ice cream tub.
Your contact for any of these big box retailers will be able to provide you with the exact amount of cubic inches your product can occupy. Be careful, because if you don’t abide, they don’t have to stock your product.
Design Hint: You’ll need to understand the Supplier Standards, obtain a Universal Product Code (UPC), and you must carry Product Liability Insurance to sell your product in big box stores.
Also, you’ll need to notify your plastic part manufacturer that the retail market is your end goal!

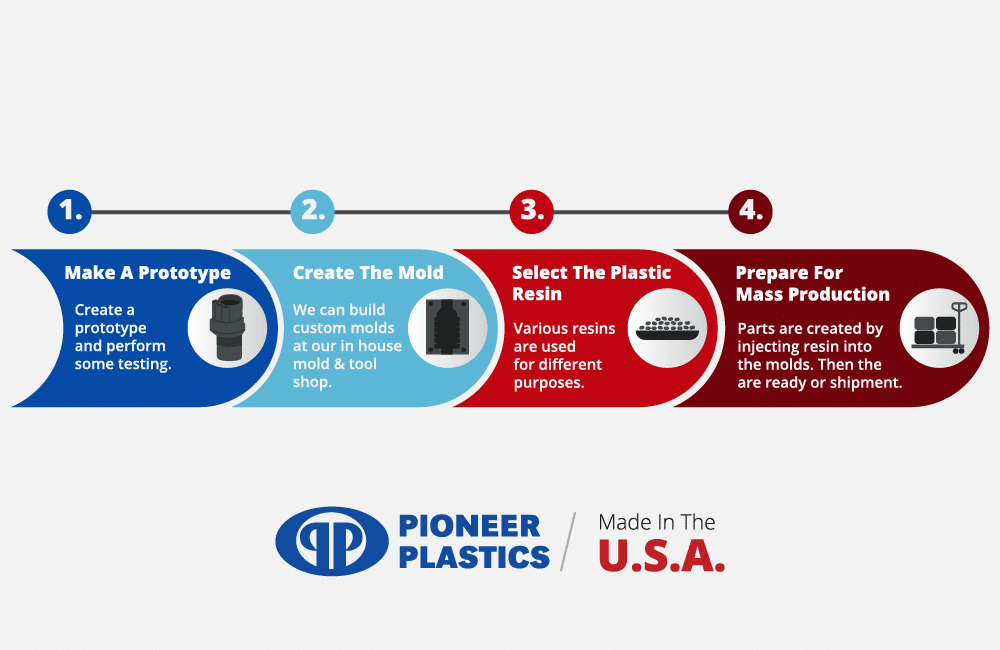
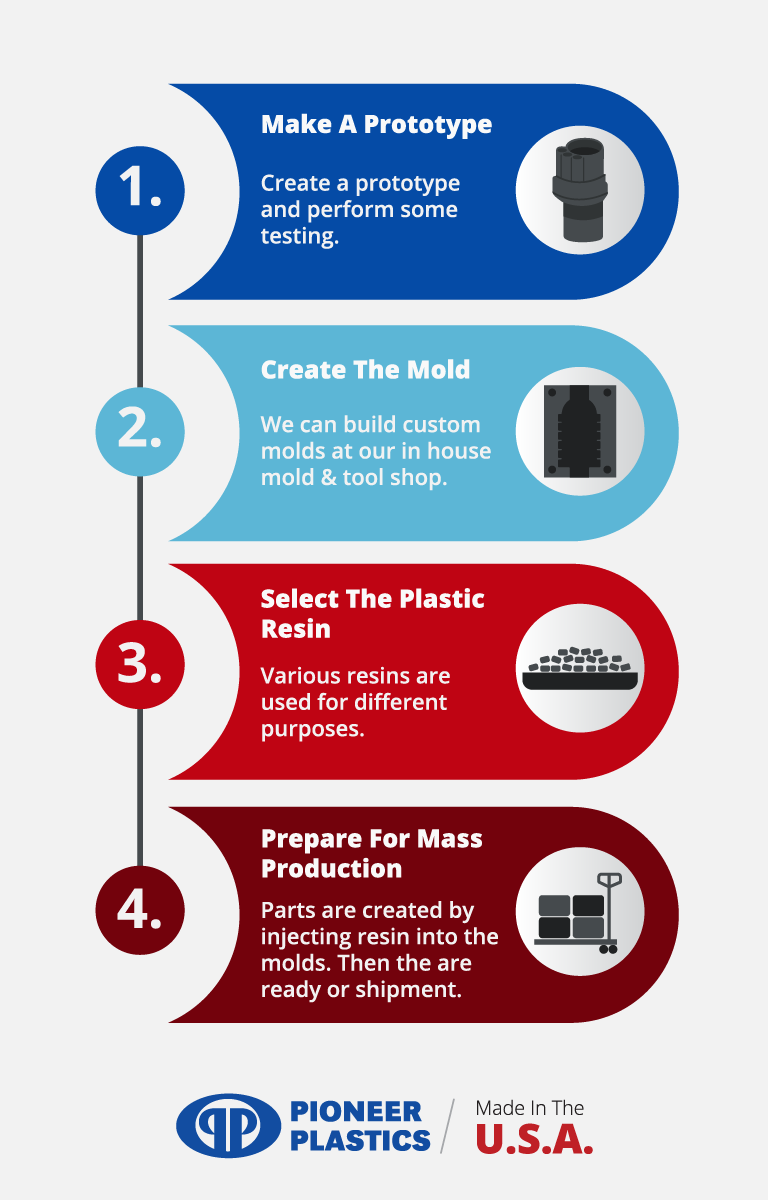
First, after a part is designed, a skilled tool and die craftsman using state-of-the-art machining like lathes, mills, or CNC machines creates a plastic injection mold out of metal. This mold is created precisely for the specific plastic part.
Then, this mold is transferred to an injection molding machine, where the actual “molding” occurs.
Plastic part manufacturers typically have various sizes of plastic molding machines that are capable of manufacturing different-sized parts. For example, Pioneer Plastics currently operates 22 modern plastic injection molding machines ranging from a 75-ton to an 880-ton clamp force.
An Example of a Larger Machine – The Cincinnati
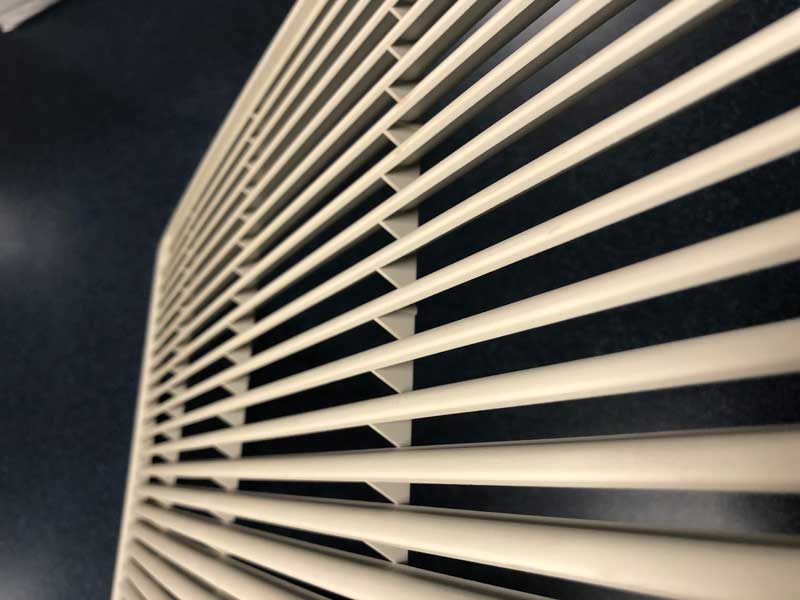
Larger machines can produce pieces like refrigerator shelves, vent covers, washer and dryer doors, and much more.
An Example of a Small Machine – The Nissei
Smaller machines like the Nissei are capable of producing plastic parts as small as golf tees, tacks, toy car display cases, buttons, and various other small items.
What is clamping force? Clamping force refers to the force applied to the mold (or plastic part) by the clamping unit of an plastic molding machine. In general, the bigger the part, the more clamping force required.
What is shot size? Shot size refers to the maximum amount of plastic that can be injected in one cycle of injection molding. The bigger the part, the larger shot size required.
Since this can be a complicated process, we’ll compare it to the process of making fun Jell-O® shapes.
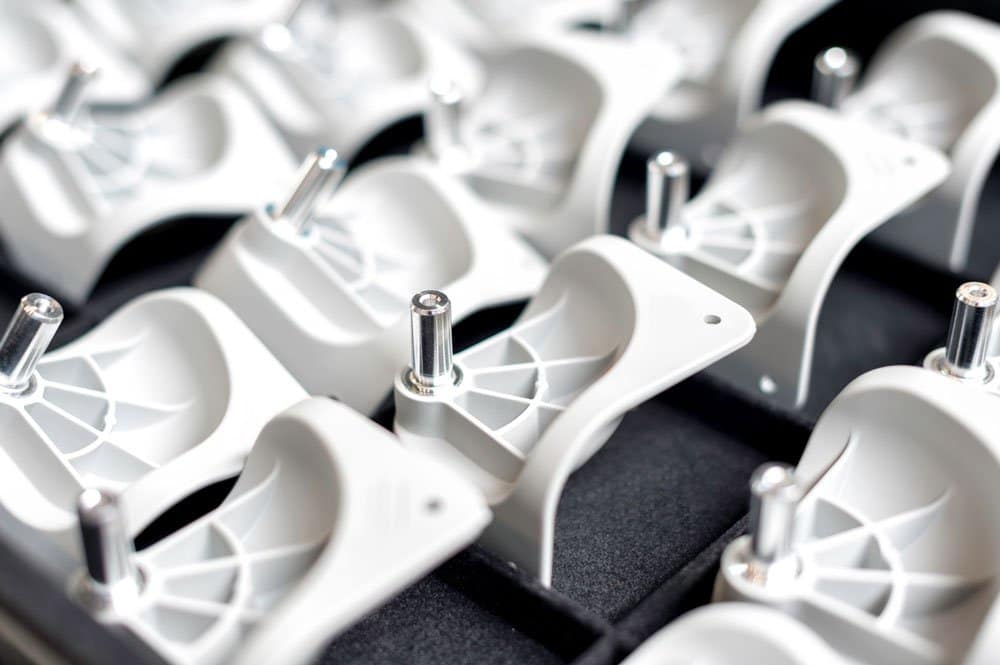
To boil it all down, these machines inject resin into a mold, which shapes the polymer into a functional plastic part after it’s cooled.
The assembly and decoration processes occur after the plastic parts undergo the injection molding process.
Resin is the plastic material that everything plastic is made of.
Once heated, Resin is a free-flowing polymer used in plastic part production. In the injection molding industry, this highly-viscous material is what’s actually injected into the mold to create a product.
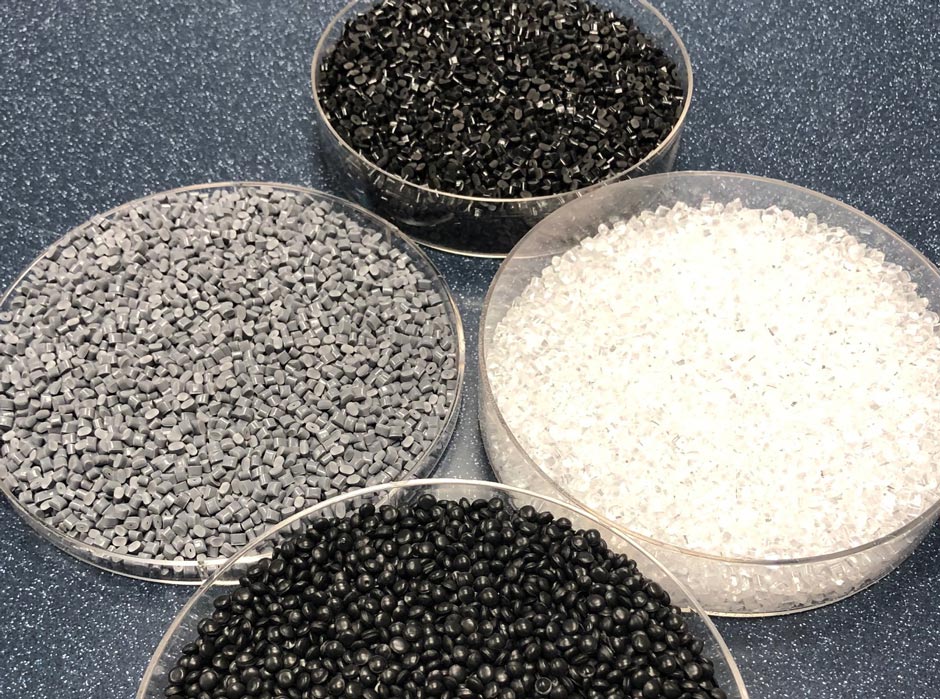
Resin starts in pellet form. You’ve probably seen them before.
Resin pellets are typically either cylindrical or disc-shaped. Here are some styles of resin pellets that most plastic molding facilities offer:
How Do You Choose the Right Type of Resin?
One of the most important parts of the manufacturing process is picking out the best type of resin for your plastic product.
There are over 100 different varieties of resin. So how do we choose the right one?
First, we get a good understanding of what your product is going to be used for. Then, using our knowledge of the industry, we’ll pick the resin based on those needs.
For example:
Based on these unique product needs, we will find the resin to meet your needs.
There Are Two Grades of Resins:
What’s the Difference?
Commodity grade resins are usually less expensive, and they’re typically easier to manipulate and process. This is usually the material used in consumer products like toys and packaging.
Examples of commodity grade resins:
Engineering Grade Thermoplastic Resin, while more expensive, has better thermal properties than commodity grades.
Because of this ability to withstand extreme temperatures and corrosion, this extremely durable material is usually used in equipment where there’s frequent friction.
For example, engineering grade resin is commonly used for items like replacement bearings or other steel parts.
Examples of engineering grade resins:
Most plastics used in the market are only suitable for use at temperatures below 275°F. Resins that are resistant to high heat can withstand temperatures ranging from 275°F to 500°F without losing its shape and/or properties.
Plastics that are resistant to high temperatures are a light, versatile alternative to metal, ceramics, and older-generation polymers.
Thermoplastic material is most commonly used in consumer products (like milk jugs) that won’t need to withstand very high temperatures. Thermoplastics are also great for prototyping because the material can be reused for another prototype or for final production. Thermoset material is most commonly used for parts that need to withstand extremely high temperatures.
Examples of industries that use thermoset (high heat) resins in their products are:
No two plastic molding projects are the same, so working with someone that understands all the aspects of part design and manufacturing is important.
You might want to test your concept with a prototype to make sure that it fits and functions well. The cost of a prototype depends on two things: the completeness of the design and the size of the part being designed.
If a design is flawless, it will likely be easy to get a prototype 3D-printed. On the other hand, if a lot of design work is needed before it can be printed, designing could be the most expensive part of the process. Here are a few scenarios that illustrate this:
When the part is ready for production, the mold needs to be built. One of the biggest drivers of cost is the size of the part. If a part is bigger, it’s going to require more material, tooling, and time to build the mold.
In looking at parts with simple designs, a small part with simple design could have a mold cost between $10,000 – $20,000. A small part with no design work could have the same mold cost with $2,000 added for design.
For large parts with a simple design, the mold could cost between $30,000 – $100,000. If the part is large but has no design work, it will have an additional $10,000 added for design.
Similarly, the more complex the part is, the more time it takes to make the mold – and, well, time is money. Some parts may require cams, lifts, or core pins, which are additions to the mold that help achieve certain features a part may require. If the part has a higher volume, the mold would require more cavitation (parts molded per cycle) which adds cost to the mold and parts handling equipment (conveyors, chutes, bowl feeders, robots, etc.).
In addition, if the demand for a part is very high (hundreds of thousands of pieces), a multi-cavity tool may be required which also increases the cost.
In looking at parts with complex designs, a small part with complex design could have a mold cost between $20,000 – $40,000. A small part with no design work could have the same mold cost with $2,000 added for design.
With over 100 different varieties of resin, it can be difficult to determine which one is best for your part. Once we understand the characteristics that the part requires and the end use of the part, we can help you narrow down choices and choose the ideal option. Some examples of these characteristics are:
Commodity grade resins are typically less expensive than engineering grade resins. However, engineering grade resins will likely be able to withstand extreme temperatures and friction better than commodity resins. Understanding the purpose and function of the part will ultimately determine the best material for it.
There are services that you might want in addition to the creation of the mold and the part. This plastic molding technology allows you to customize your part in many different ways.
High impact polystyrene is a well-known type of thermoplastic favored in injection molding scenarios across a variety of industries. Its unique blend of durability, texture,

Collecting Hot Wheels™ and other diecast cars is a pastime that many of us pick up in childhood. As a child, you mainly want to
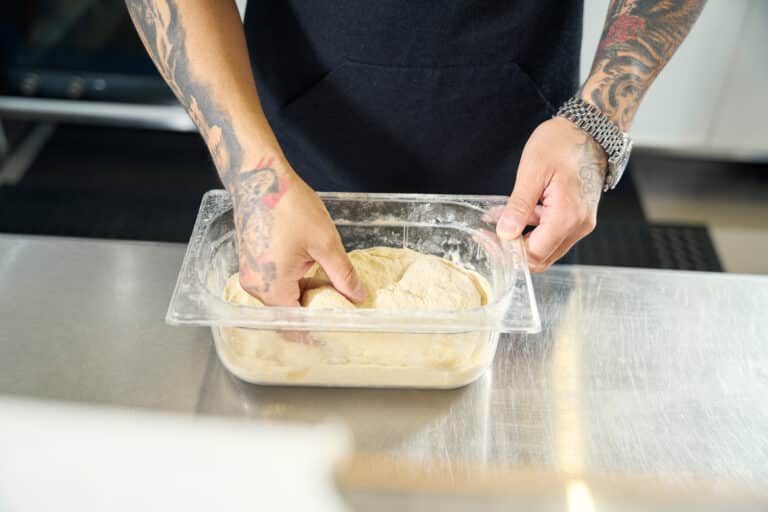
In the bustling world of the food and beverage industry, the devil is often in the details. Custom plastic parts and smallwares play a pivotal
