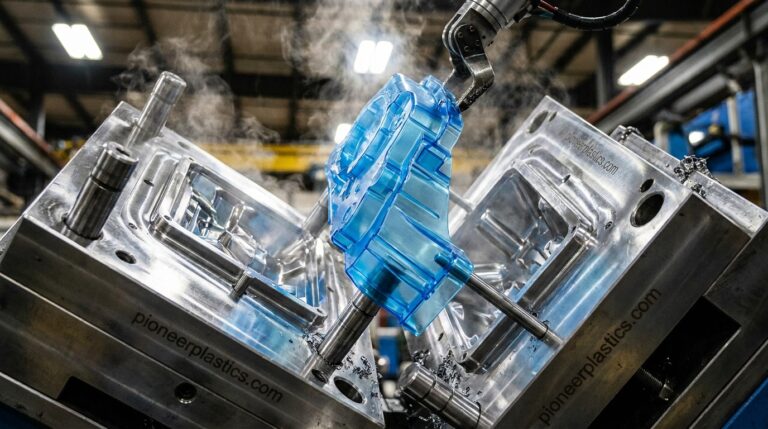
The Injection Mold Sampling Process: From CAD File to First Shot
A finalized part design is a promise on paper. The injection mold sampling process is where that promise gets tested in steel and plastic, when


No two custom injection molding projects are the same, so no two quotes are built from the same numbers. Here’s a breakdown of injection molding cost from a production molder: which costs you pay once, which recur on every part, and which ones you control before a mold is ordered.
Injection molding cost is the sum of one-time costs (design, prototyping, and the mold) and recurring costs (material, cycle time, secondary operations, and maintenance). Production volume decides how thinly the one-time costs are spread. The matrix below shows what each driver moves and what you control.
| Cost driver | One-time or recurring | What it moves | What you control |
|---|---|---|---|
| Design readiness and prototyping | One-time, before tooling | Design hours and prototype iterations. With an unfinished concept, design work can be the most expensive part of the prototype stage. | Arrive with a complete design, or budget for design help before a mold is ordered. |
| Part size | Both | A bigger part needs more material, more tooling, and more time to build the mold. | Overall dimensions; whether one large part could be simpler. |
| Part complexity | One-time | Features that need cams, lifts, or core pins add to the mold. | Remove features the part does not need; design for clean release. |
| Cavitation | Raises one-time, lowers recurring | More cavities raise tooling cost and reduce per-part cost at volume. Multi-cavity tools may require higher upfront investment. | Match cavity count to realistic annual volume. |
| Mold class and expected tool life | One-time | Classes run from Class 101 (over 1,000,000 cycles) to Class 105 (around 500 cycles). Class 101 is described as expensive and Class 105 as the least expensive. | Tell the molder the lifetime quantity you expect so the tool is not over-built or under-built. |
| Wall thickness and cycle time | Recurring | Cooling time rises with the square of wall thickness, and cycle time is one of the three variables behind unit price. | Uniform walls; core out thick sections. |
| Resin | Recurring | Commodity resins are typically less expensive than engineering-grade resins. Resin producer prices also move month to month. | Specify the properties the part needs, not more. |
| Secondary operations | Recurring | Decorating, printing, packaging, and assembly are added per part. | Design in snap fits instead of fasteners; consolidate components. |
| Production volume | Sets how the one-time cost is spread | Tooling amortization: the mold cost is spread across every part made. | Order quantities and forecast accuracy. |
| Mold maintenance | Recurring over the tool’s life | Preventive maintenance between runs keeps a tool running and helps it reach its expected life. | Ask how the mold will be maintained and who is responsible. |
Prototype cost depends on two things: how complete the design is and how large the part is. If a design is complete, it will likely be easy to get a prototype 3D printed. If a lot of design work is needed first, designing could be the most expensive part of the process. Four scenarios show how the factors combine:
Each design change adds cost. Every revision made during prototyping means more design time and another prototype, so settling as many decisions as possible before the first print keeps prototyping costs down.
Validating the part in print protects a significant tooling investment, which is why it pays to know when to switch from 3D printing to injection molding. Engineering services can close design gaps first.
Part size is one of the biggest drivers of mold cost. A bigger part requires more material, more tooling, and more time to build the injection mold. The second driver is mold class: how many cycles the tool is built to survive. Two simple-design scenarios show the size effect:
Mold class runs from Class 101, capable of withstanding over 1,000,000 cycles, to Class 105, the least expensive and most short-lived class at around 500 cycles. Between them, Class 102 is suitable for up to 1,000,000 cycles, Class 103 has a lifespan of up to 500,000 cycles, and Class 104 has a maximum of 100,000 cycles.
Share the lifetime quantity you expect so the tool is sized correctly. That number is the starting point for tool development and mold management.
The more complex the part is, the more time it takes to make the injection mold, and time is money. Features that need cams, lifts, or core pins add to the mold. Cavitation (parts molded per cycle) raises tooling cost while lowering per-part cost, and higher volumes may also need parts-handling equipment such as conveyors, chutes, bowl feeders, or robots.
If demand runs into the hundreds of thousands of pieces, a multi-cavity tool may be required. The tradeoff between tool types looks like this:
For example, a small part with a complex design costs more to tool than the same part with a simple design, and design work is added if it starts as a concept.

These design choices lower the price of a molded part:
These are easiest to settle in CAD, which is why design for manufacturing decisions come before steel gets cut.
Resin is a recurring cost on every part, so the right choice is the least expensive material that meets the part’s real requirements. Commodity-grade resins are typically less expensive than engineering-grade resins. Engineering grades better withstand extreme temperatures and friction, and they may let you eliminate a secondary operation.
With many resin families and grades available, choosing the right resin and narrowing down common injection molding materials start with what the part requires:
Resin pricing also moves: the producer price index for plastics material and resin manufacturing rose about 9.8% from April to May 2026, then fell about 7.9% from May to August 2026. Confirm how long a quote’s material pricing is valid.
Secondary operations are additional services used along with custom injection molding, and each one adds a recurring cost to every part. Pioneer Plastics handles these steps in-house, which keeps them with one supplier instead of several:
Every operation you design out is a cost you stop paying on every part.
Production volume decides how thinly the one-time mold cost is spread. Tooling amortization divides the mold cost across every part the tool makes, so the same mold costs far less per part over a long run than a short one. In formula form:
Cost per part = (tooling cost ÷ total parts made) + material per part + processing per part + secondary operations per part
Processing per part is where cycle time shows up: a shorter cycle means more parts per hour from the same press. Before committing to tooling, answer three questions:
When volume is uncertain, weigh the tradeoffs between short-run and long-run production first.
A mold keeps generating cost after it is built. Preventive maintenance between runs, repairs, and modifications keep the tool producing good parts and help it reach its expected life. As Andres Urbina writes in Plastics Engineering, “Injection molds are a critical investment in the manufacturing process, and maximizing their lifespan is essential for cost-efficiency and productivity.” Upkeep falls into three areas:
At Pioneer Plastics, every mold is on a preventive-maintenance schedule between runs, and our in-house tool and die shop repairs, modifies, and maintains about 3,000 service molds. When you compare molders, ask how your mold will be maintained and who is responsible.
Budget an injection molding project in two lines: one-time costs (design, prototyping, and the mold) and recurring costs (material, processing, secondary operations, and maintenance). Separating them shows where two quotes for the same part differ.
Quotes for the same part often rest on different assumptions:
Build time belongs in the budget too: a new mold takes anywhere from 2 to 26 weeks, depending on part complexity, number of cavities, and mold size. For the most accurate number, have these six things ready for a custom plastic injection molding quote.
It depends on the mold and the volume, because injection molding cost is a one-time tooling cost plus a recurring cost per part. Size, complexity, cavity count, and mold class set the tooling cost; material, cycle time, and secondary operations set the per-part cost.
Injection molding is expensive up front, not necessarily per part. The mold is a large one-time investment, but once it is spread across a production run, each part’s cost depends mainly on cycle time and material. That is why the process makes sense at volume.
It can be, because the mold cost is spread across fewer parts. If you need roughly 1,000 units or fewer, 3D printing for prototyping and low-volume production can be a better fit.
Divide the tooling cost by the total parts the mold will make, then add material, processing, and secondary operation costs per part. The result falls as volume rises because the tooling share of each part shrinks.
It depends on the mold’s class and maintenance. Classes range from around 500 cycles for Class 105 to over 1,000,000 cycles for Class 101, and preventive maintenance helps a tool reach its expected life.
A turnkey injection molder like Pioneer Plastics manages the mold build and handles the injection molding process, so one team is accountable for the tool and the parts. With 23 presses from 75 to 1,200 tons and ISO 9001:2015 certification, we can help you plan the budget. Contact us to talk through your part and get a detailed quote.
The information provided in this content is for general informational purposes only and should not be considered professional advice. It is advisable to consult with a qualified industry professional before taking any action based on this information. The team at Pioneer Plastics is here to assist you with any questions you may have.
A finalized part design is a promise on paper. The injection mold sampling process is where that promise gets tested in steel and plastic, when
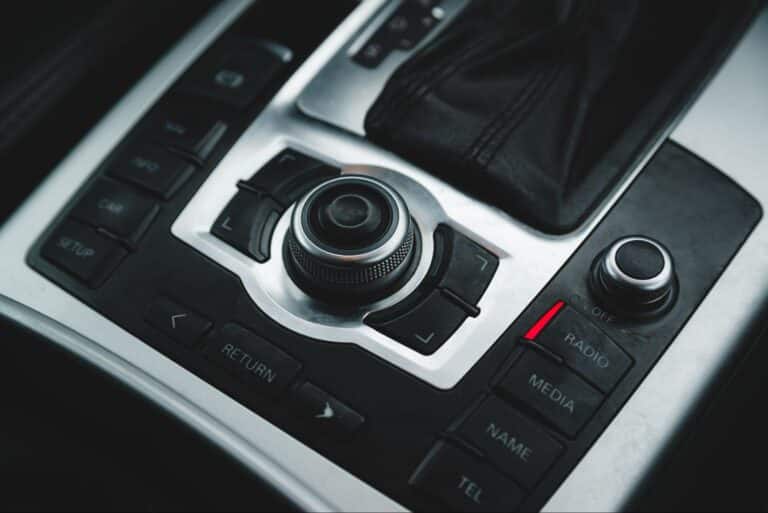
Plastic overmolding is a modern manufacturing technique where a softer, flexible polymer is molded over a rigid base material, bonding them into a single, high-performance
“Made in USA” manufacturing signifies far more than a simple label—it represents a commitment to quality, local economic growth, and ethical production practices. At its