
The OEM’s Playbook for Successful Tooling Transfers
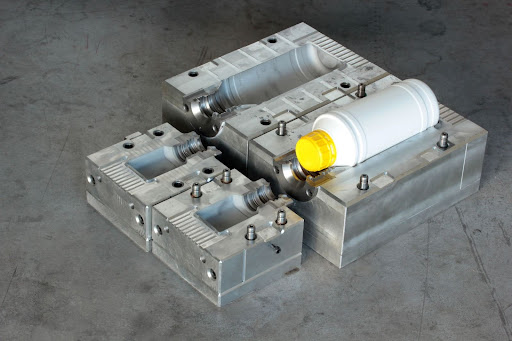
Tooling transfers involve relocating molds from one production facility to another—a critical process for Original Equipment Manufacturers (OEMs) looking to optimize supply chains, enhance quality,
DISCOVER OUR NEWLY RELEASED COLLECTIBLE DISPLAY CASES! SHOP NOW
Shop by brand & type
UV-filtering display cases that guard collectibles, documents, and retail goods against sun damage and discoloration.
Browse UV-protected cases →Display cases packaged for retail shelves — clamshell, boxed, and custom-printed options ready to scan and sell.
Browse retail-ready cases →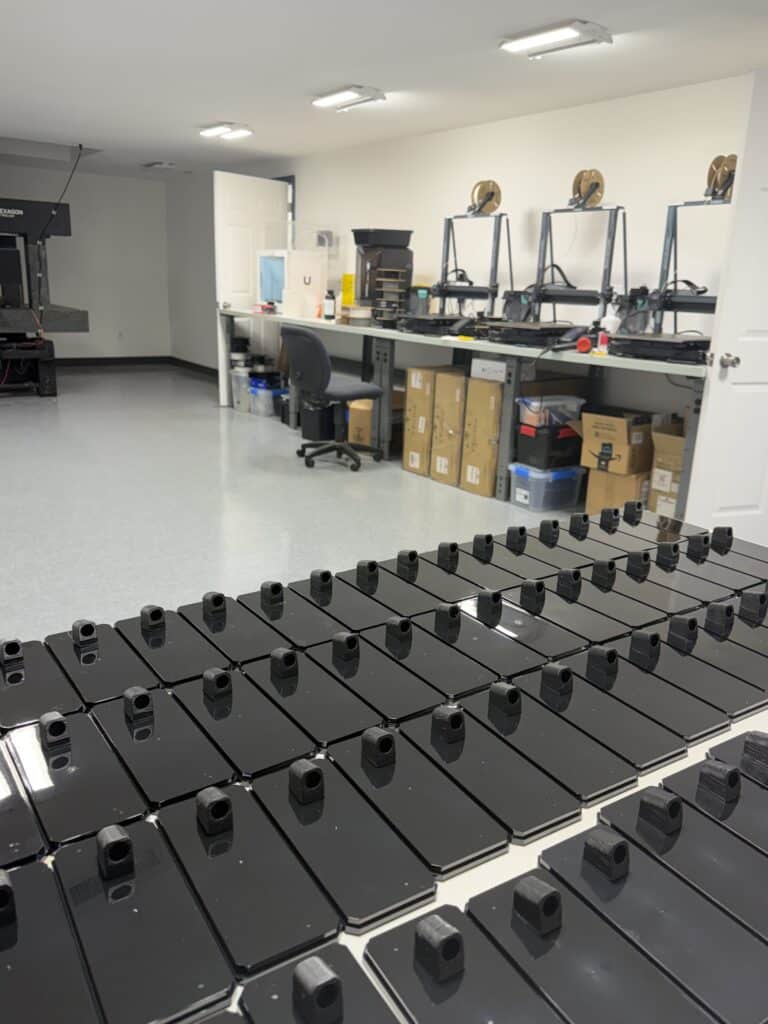
Deciding when to switch from 3D printing to injection molding is one of the most consequential calls in a plastic part’s life, because cutting a steel mold locks in your design and a significant investment at the same time. Get the timing right and you launch a proven part at a low unit cost. Get it wrong and you pay to change a tool that should not have been cut yet.
The clearest way to decide between 3D printing and injection molding is to compare them on the factors that actually drive the choice: tooling commitment, lead time to the first part, per-part cost at volume, best-fit volume, design flexibility, strength, and material range. The table below consolidates those factors in one place.
| Decision factor | 3D printing (FDM / SLA) | Injection molding | What it means for your decision |
|---|---|---|---|
| Tooling and upfront commitment | None. Printing is tool-free. | High upfront tooling, built to spec. | Print first, so you do not commit to steel before the design is proven. |
| Lead time to first part | Hours to a few days, no tooling. | Weeks for mold design and build (typically 8 to 12 weeks). | Printing puts a real part in hand fast for testing. |
| Per-part cost at volume | Higher per part, and roughly flat with quantity. | Low per part once tooling is amortized (cycle time under a minute per part). | Molding wins as volume rises. |
| Best-fit volume | Prototypes, functional tests, and low-volume or short runs. | Mid to high volume production. | Volume is the pivot. Below a threshold, a mold may never pay off. |
| Design changes | Change the file and reprint. | Locked once the mold is cut, and costly to change. | Iterate in print until the design is final, then tool. |
| Strength and finish | Lower and orientation-dependent (flat FDM ABS is about 60% of molded tensile strength). | Production-grade strength, consistent, with a smooth finish. | Move to molding when the part must hit production-grade strength or finish. |
| Material range | Narrower. FDM at Pioneer Plastics: PLA, ABS, PETG, Nylon, and flexible TPU and TPE. SLA uses a separate, more limited set of resins. | Broad range of production thermoplastics. | Confirm your production resin is available before committing. |
The pattern is consistent across the engineering research: injection molding carries high upfront tooling costs, longer lead times, and less geometric freedom, while 3D printing needs no hard tooling and excels at rapid prototyping and low-volume runs.
Switch from 3D printing to injection molding when three conditions line up:
Until those conditions line up, keep printing. If you want the underlying mechanics, we cover how 3D printing and injection molding work together and the differences between 3D printing and injection molding in separate guides. This post is about the decision itself: when to move to a mold, and whether you need one at all.
The economics are a crossover, not a cliff. A printed part costs roughly the same whether you make ten or ten thousand, while injection molding starts with a significant tooling investment and then produces parts at a very low, nearly flat unit cost. As a rule of thumb, Pioneer Plastics finds that orders of roughly 1,000 units or fewer are often better suited to 3D printing or low-volume options. Choosing between short-run and long-run production is its own question worth thinking through before you tool.
Once a mold is machined, changing the design means modifying or rebuilding the tool, which is slow and costly. That is why a design-for-manufacturability review before tooling matters: it catches wall-thickness, draft, and assembly problems while they are still cheap to fix in a file rather than in steel.
Inside our Design Center, five 3D printers, four FDM and one SLA, sit alongside CAD workstations, so design and printing happen in the same room. We run the full validate-before-you-tool ladder in-house and cut steel only once the part is proven.
Our printers build parts up to 420 by 420 by 480 mm (16.5 by 16.5 by 18.9 in) in PLA, ABS, PETG, Nylon, and flexible TPU and TPE. As a veteran-owned and family-owned custom injection molder with over 40 years of experience, Pioneer Plastics runs all of it on an ISO 9001:2015 certified quality system.
The ladder runs in five steps:
The payoff shows up in real programs. One customer completed several printed production runs on our machines before any steel was cut, and another is on their second printed production run and may never need a mold at all. That is the point of our in-house 3D printing and rapid prototyping: prove the part first, then tool only when the numbers justify it.
Our Design Center runs both FDM and SLA printing, and the two answer different validation questions.
FDM (fused deposition modeling) builds a part from melted thermoplastic, layer by layer. It is our workhorse for functional validation because it runs a broad, production-like material range: PLA, ABS, PETG, Nylon, and flexible TPU and TPE. When you need to test strength, fit, and assembly in a material close to your production resin, FDM is usually the right call.
SLA (stereolithography, or resin printing) uses a vat of UV-curable resin and a high-resolution screen that cures the resin layer by layer into a single crosslinked structure. Because the part cures as one piece rather than stacked layers, it avoids the layer-line weak spots FDM parts can have and takes a much finer surface finish, including sharp detail and, when suited, smooth or clear parts. That makes SLA the better choice for appearance and fit prototypes where surface quality matters most.
The trade-offs are worth knowing. SLA’s resin selection is narrower than FDM’s, and SLA resins tend to be less strong than FDM thermoplastics, so a part that has to prove out real mechanical loads usually belongs on FDM or in a mold. In short: reach for FDM to validate function and strength, and SLA to validate detail and finish.
Yes. For low volumes, 3D printing can be the production process, not just the prototype step. It also works as bridge production, making real parts while a mold is being built, so you can ship or test in market without waiting on tooling.
In practice, printed parts do three production jobs:
As quantities climb and repeatability and unit cost start to matter more, the same part can graduate from printed runs into molded production. We cover that handoff in our guide to prototype and production injection molding.
Generally, no. FDM-printed parts are typically weaker than injection molded parts, and their strength depends on how they are oriented on the print bed. Measured against injection-molded parts, the numbers break down like this:
The takeaway is not that printed parts are weak, but that orientation and print settings change the answer, so a part destined for demanding, production-grade loads is usually one to mold.
It depends on volume. For prototypes and small runs, 3D printing is usually cheaper because it needs no tooling. As volume rises, injection molding wins on cost, because once the tooling is paid off it produces parts at a very low, nearly flat unit cost, with a cycle time under a minute per part. The common misconception is that printing is always cheaper. It is not, once you are making parts in the thousands.
There is no fixed minimum, but the economics set a practical floor. As a rule of thumb, Pioneer Plastics finds that orders of roughly 1,000 units or fewer are often better served by 3D printing or low-volume options, and the crossover where molding starts to win typically lands somewhere between a few hundred and a few thousand parts, depending on part size and complexity. The honest answer for any specific part is to run the comparison, which we are happy to do.
At Pioneer Plastics, building a new injection mold typically takes 8 to 12 weeks, and longer for complex or multi-cavity tooling, depending on part size, cavitation, and design complexity. That is the lead time printing lets you skip while the design is still being proven, since a printed part can be in your hands in hours to a few days.
For low enough volumes, yes. Some parts never reach the quantity that justifies a mold and stay in printed production indefinitely. As volumes climb and part-to-part consistency and unit cost matter more, injection molding becomes the better fit.
Not sure whether your part is ready for a mold, or whether it needs one at all? Share your design with Pioneer Plastics and our team will help you validate it in print first, then recommend the most cost-effective path to production, even if that path is not molding. Request a quote to get a straight answer and a clear timeline up front.
The information provided in this content is for general informational purposes only and should not be considered professional advice. It is advisable to consult with a qualified industry professional before taking any action based on this information. The team at Pioneer Plastics is here to assist you with any questions you may have.
Tooling transfers involve relocating molds from one production facility to another—a critical process for Original Equipment Manufacturers (OEMs) looking to optimize supply chains, enhance quality,
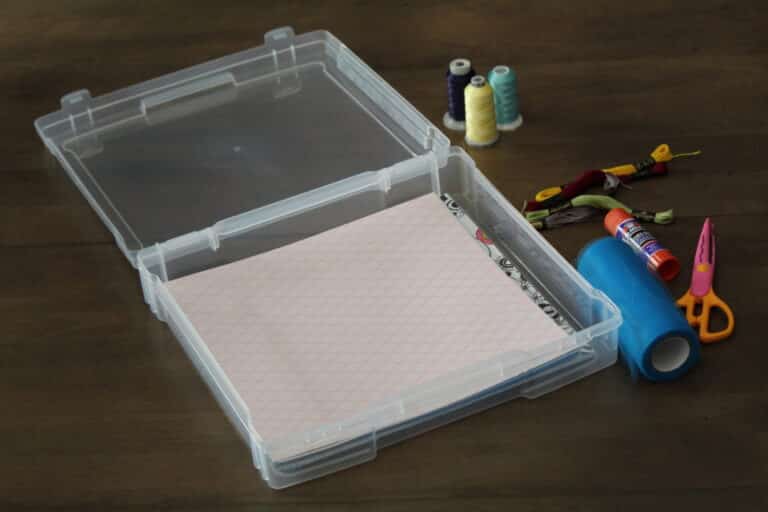
Scrapbooking is a beloved hobby for many. It’s a way to preserve memories and flex our creative muscles. However, for those with limited space, keeping scrapbooking supplies and projects organized can be quite a challenge.
In this blog post, we’ll explore some ingenious scrapbook supply organization ideas specifically tailored to homes without a dedicated crafting room. From finding a storage area to maximizing and organizing the space, you’ll soon be on your way to a tidy and efficient way to store your scrapbook supplies.
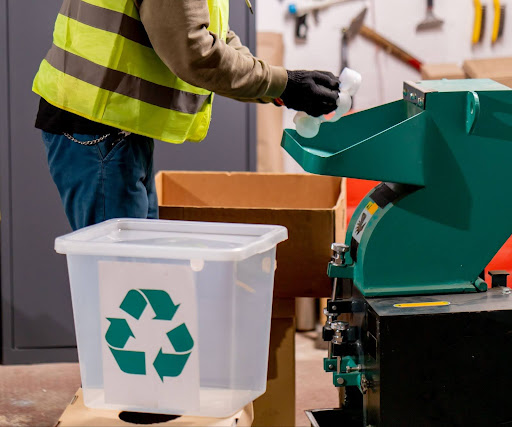
Sustainability in injection molding is no longer a buzzword; a fundamental pillar of modern manufacturing. Driven by Environmental, Social, and Governance (ESG) goals and the